Your Ultimate Guide to Dermaplaning: Tips, Tools, and Techniques
1,436 Views
So, you want smoother, hairless skin that makeup glides on effortlessly? Well, you’re in luck because dermaplaning can be a game-changer when it comes to creating a smoother base for makeup application, along with many other benefits.
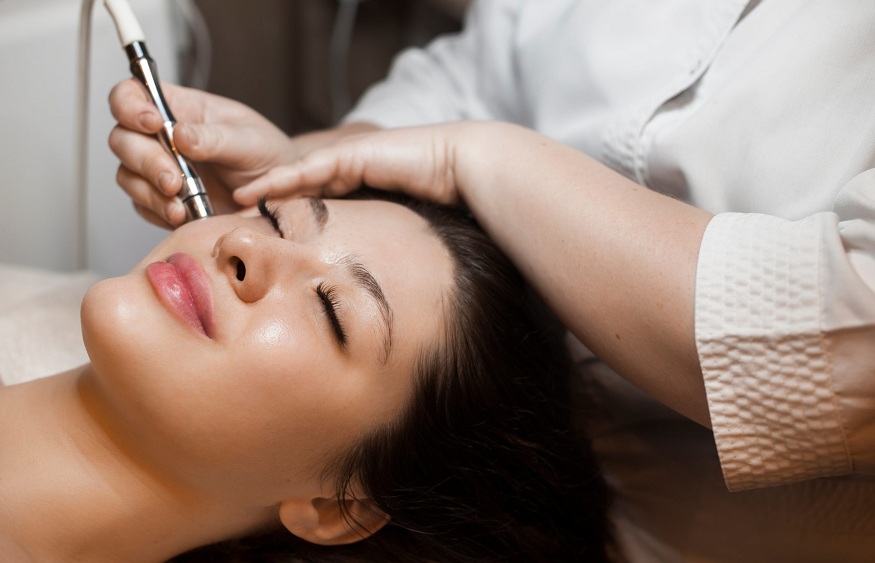
Dermaplaning, also known as blading or dermablading, is a non-invasive skin treatment where a sharp blade gently removes dead skin cells and peach fuzz from your skin’s surface. The procedure leaves your complexion brighter and more even, promoting cellular turnover for a healthier glow.
But why does this matter when it comes to makeup? Well, dead skin cells and peach fuzz often get in the way of a flawless makeup application. They can create a rough surface for makeup to cling onto, making it look patchy and uneven. Removing these obstacles with dermaplaning allows your makeup to glide smoothly and evenly for a more polished finish.
Your Ultimate Guide to Dermaplaning: Tips, Tools, and Techniques
Now that we’ve introduced you to the basics of dermaplaning, let’s dive deeper into tips, tools, techniques, and other important information you need to know about it.
Benefits of Dermaplaning
Beyond providing a smoother canvas for makeup, dermaplaning offers several benefits:
- Brightens Complexion: By exfoliating the topmost layer, the skin looks fresher, brighter, and more radiant.
- Enhances Product Penetration: With the dead skin cells gone, your skincare products can penetrate deeper, which can mean you not only get better results, but get them faster.
- Minimizes Pores and Fine Lines: Regular debris removal can reduce the appearance of enlarged pores and even fine lines.
- Safe for Most Skin Types: Dermaplaning is typically suitable for all skin types, barring some exceptions, which we’ll delve into later.
Tools of the Trade
For effective dermaplaning, you’ll need:
- Dermaplaning blade or scalpel: These specialized tools are specifically designed for dermaplaning. It is important to note that regular razors should never be used as they are unsuitable for this purpose. Regular razors are meant for coarse beard or body hair, while in this case, we need a different blade to target the baby-fine hair that can grow on the face.
- Toner: Before undergoing the dermaplaning procedure, cleanse and prepare the skin by using a toner. This helps remove impurities, excess oils, or debris, allowing for a more effective and efficient treatment.
- Post-treatment serum: Following the dermaplaning procedure, applying a soothing post-treatment serum is beneficial. Ingredients like hyaluronic acid or vitamin E can nourish and hydrate your skin, promoting a smooth and radiant complexion. A hypochlorous acid spray or liquid is an increasingly popular option for post-treatment care as it has antimicrobial and antibacterial properties that can prevent irritation and infection.
The Dermaplaning Technique
Here’s a step-by-step guide you can refer to as you start your dermaplaning journey:
- Preparation: Start by thoroughly cleansing your face using a gentle cleanser to effectively remove any traces of makeup, dirt, or excess oil. Rinse with lukewarm water and gently dry with a clean towel. Once your face is clean, apply a mild toner using a cotton pad to further cleanse and refresh your skin.
- No need for lubrication: Usually, dermaplaning is done on dry skin. Unlike regular shaving where a shaving cream or lotion is helpful, dry skin tends to be the best way to go about this technique. Creams and lotions actually have the opposite effect in this case and can clog the pores and irritate the skin more. Instead, you’ll apply something hydrating after you dermaplane, rather than before.
- Holding the blade: Hold the blade at a 45-degree angle to your skin. This angle helps ensure a close and comfortable “shave” while minimizing the risk of nicks or cuts. Take your time to find a grip that feels secure and comfortable for you.
- Gentle strokes: Using short, feather-like strokes, gently glide the blade across your skin in the direction of hair growth. Avoid applying excessive pressure, which can increase the risk of irritation or razor burn. Rinse the blade frequently to remove hair or product buildup for a smoother shaving experience.
- Post-treatment: After you have finished dermaplaning, rinse your face with cold water to close the pores and refresh your skin. Use a clean towel to pat dry, then apply a soothing serum or moisturizer to hydrate and calm your skin. Avoid direct sun exposure and heavy makeup for at least 24 hours to allow your skin to recover and minimize the risk of irritation or sensitivity.
Tips for Best Results
- Consistency is Key: For optimal results, consider dermaplaning once a month.
- Stay Sun-safe: After dermaplaning, your skin will be more sensitive to the sun. Always use sunscreen.
- Avoid Active Breakouts: If you have acne or cold sores and an active breakout, wait until your skin clears before dermaplaning.
- Hydrate: Keeping your skin moisturized after the procedure will prevent dryness and peeling.
Who Should Avoid Dermaplaning?
While dermaplaning is safe for most, there are exceptions. Those with active acne, rosacea, or other inflammatory skin conditions should avoid it. Additionally, if you have a history of keloid scars, it’s best to consult a dermatologist first.
Professional vs. At-Home Dermaplaning
You can undoubtedly buy dermaplaning kits and the tools we’ve discussed today and try them on your own. However, the difference you’ll see between DIY dermaplaning and professional dermaplaning is profound.
When you entrust this service to a pro, you can expect a more thorough job with longer-lasting results. A skilled esthetician customizes the level of exfoliation and addresses any specific concerns or problem areas.
However, if you’re on a budget or enjoy trying new skincare techniques, at-home dermaplaning can still benefit you. Just be sure to follow all instructions carefully and properly.
Conclusion: Palm Beach Dermaplaning
Dermaplaning is a fantastic option for rejuvenating your skin, offering a myriad of benefits. When done correctly, it leaves you with a radiant glow and a perfect base for your makeup. This non-invasive yet highly effective treatment is becoming incredibly popular and it’s no surprise why!
For dermaplaning in West Palm Beach, turn to Anushka Palm Beach. Their skilled estheticians use top-of-the-line tools and techniques to ensure a safe, effective, and comfortable dermaplaning experience. Along with dermaplaning, they offer a number of other treatments and services, including massage, lasers, facials, a full-service hair salon, and much more.